- About Cloud Images
- Digital Ocean
- Microsoft Azure
- Google Cloud
- Amazon AWS
- Admin Dashboard
- Managing Users
- Managing Devices
- Usage Statistics
- Adding a License
- General Settings
- Server Settings
- Security Settings
- Network Settings
- Directory Settings
- Email Settings
First-Time Configuration
Important: After the first-time configuration is completed, you will no longer be able to access the wizard. However, all settings can still be changed from the administrator portal. If you wish to instead complete the first-time configuration wizard again, you will need to delete your deployment and start over with a fresh deployment of KUY.io Konnect™.
When your intial deployment of Konnect™ access server, either as a self-hosted deployment or as a cloud image is completed, your Konnect™ server will initialize in a first-time configuration mode. This mode continues to be enabled until the first-time configuration is completed.
1. Access the Configuration Wizard
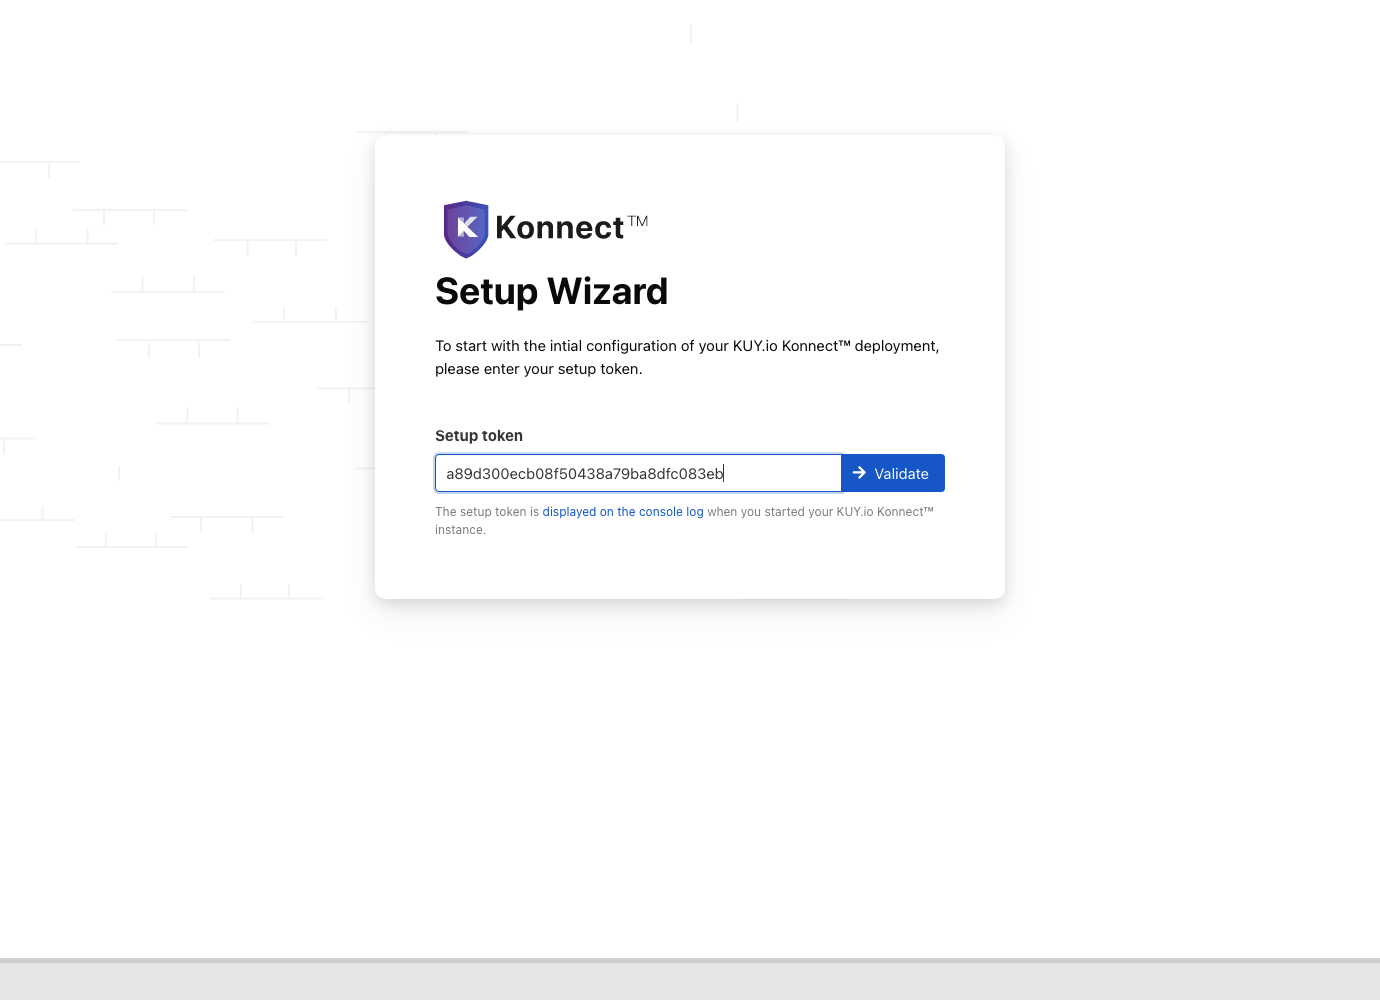
Navigate to your Konnect™ access server's fully qualified domain name (for example: https://vpn.example.com) in your browser. You will be greeted with the first-time configuration wizard:

In the input field, please paste the Setup Token you copied from the terminal output when you started Konnect™, and click on Validate. This initial screen is a security measure that prevents unauthorized access of the initial configuration by users others than the deploying administrator.
2. Create the Administrator User
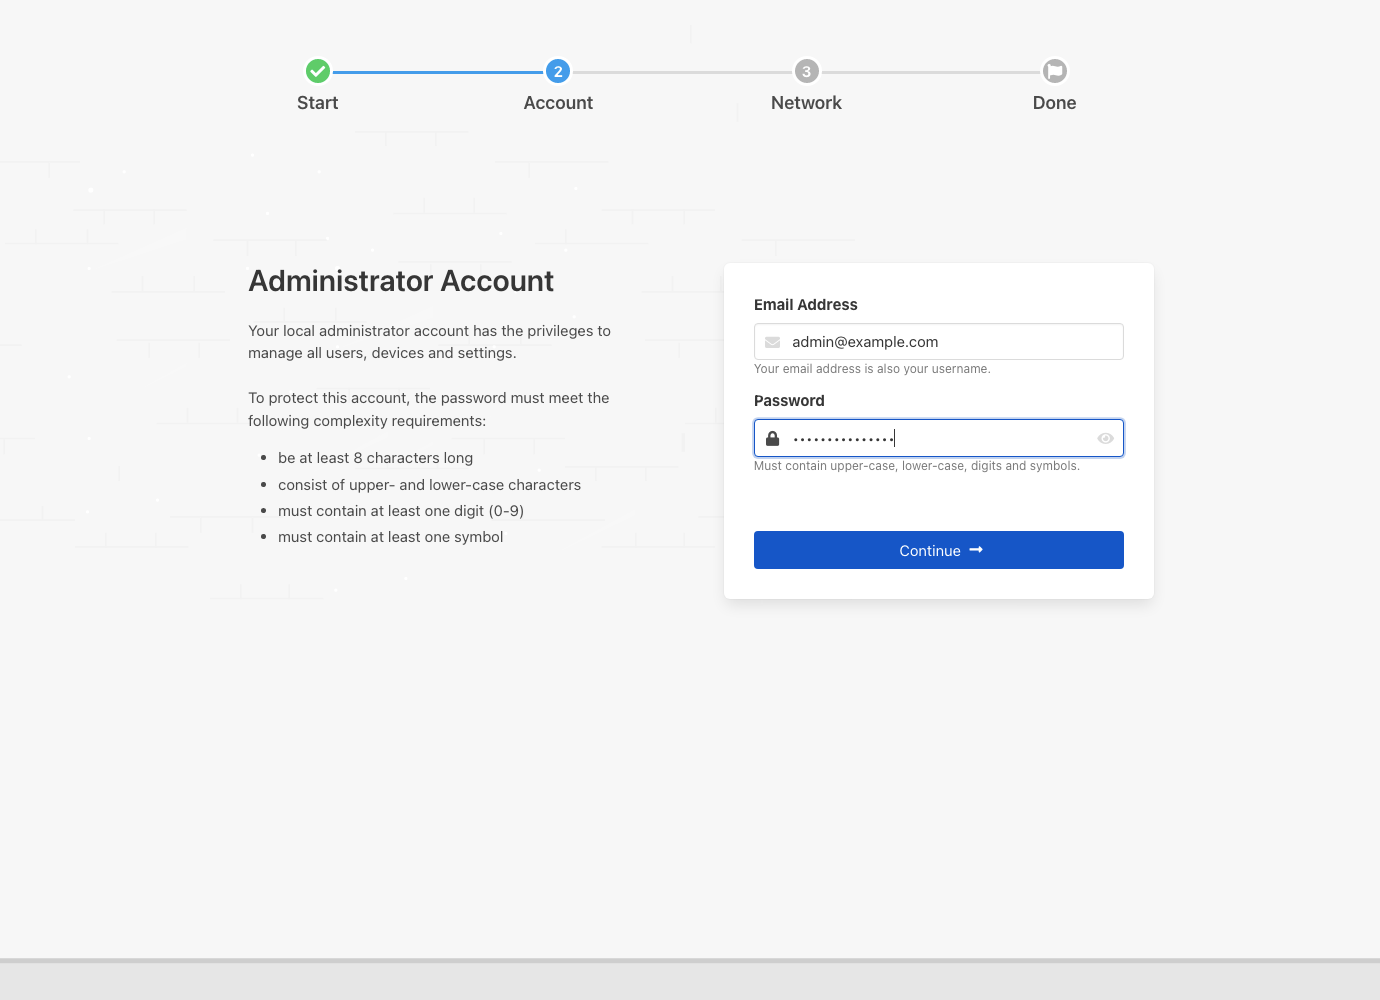
First, you are prompted to create a local administrator user for your deployment. The email address will also be that user's username. The password must be at least 8 characters long, contain at least one digit, one upper-case character, one lower-case character and one symbol.

Note: For security reasons, Konnect™ server enforces the above password security rules for all local user acccounts. Users connected through your directory service, such as Active Directory are exempt from these rules as their password security is governed by your directory policies.
Click on Continue to create the local administrator user and continue with the next step.
3. Initial Network Configuration
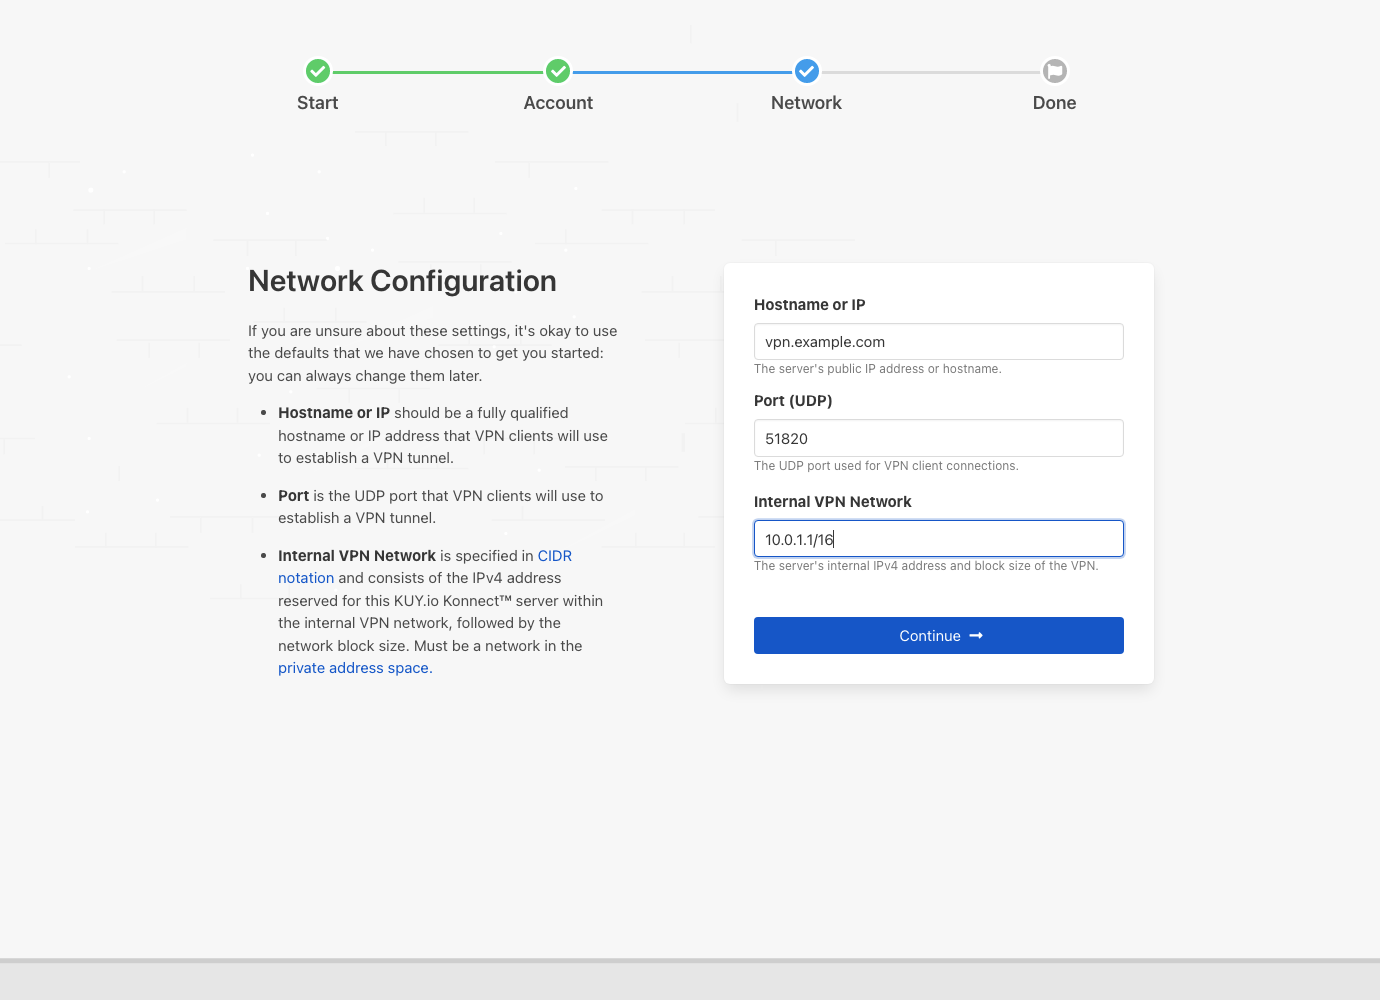
Next, you will be ask to specify your initial network configuration for the VPN Gateway. The hostname should match your full-qualified domain name and your HTTP/SSL certificate that you set during deployment. If you do not wish to use the default VPN port of 51820 you can change it here, but please be aware that you will need to adjust your firewall rules accordingly. Both, the hostname and the port are required to be set correctly here, as the configuration specified here will be included in all auto-generated client configuration files.
Finally, specify the VPN server's internal (virtual) network address and the address range that can be allocated to VPN client devices in CIDR block notation. If you intend to connect more than 250 client devices to your deployment, please ensure that you set an address block that is large to contain an IP address for each client device.

Note: All settings can be changed later in the administrator portal. However, base settings such as
hostname,portandinternal network, require a restart of the VPN service, as well as re-generation and re-distribution of all client configuration files.
Click on Continue to save these network settings and continue with the next step.
4. Service Start and Health Checks
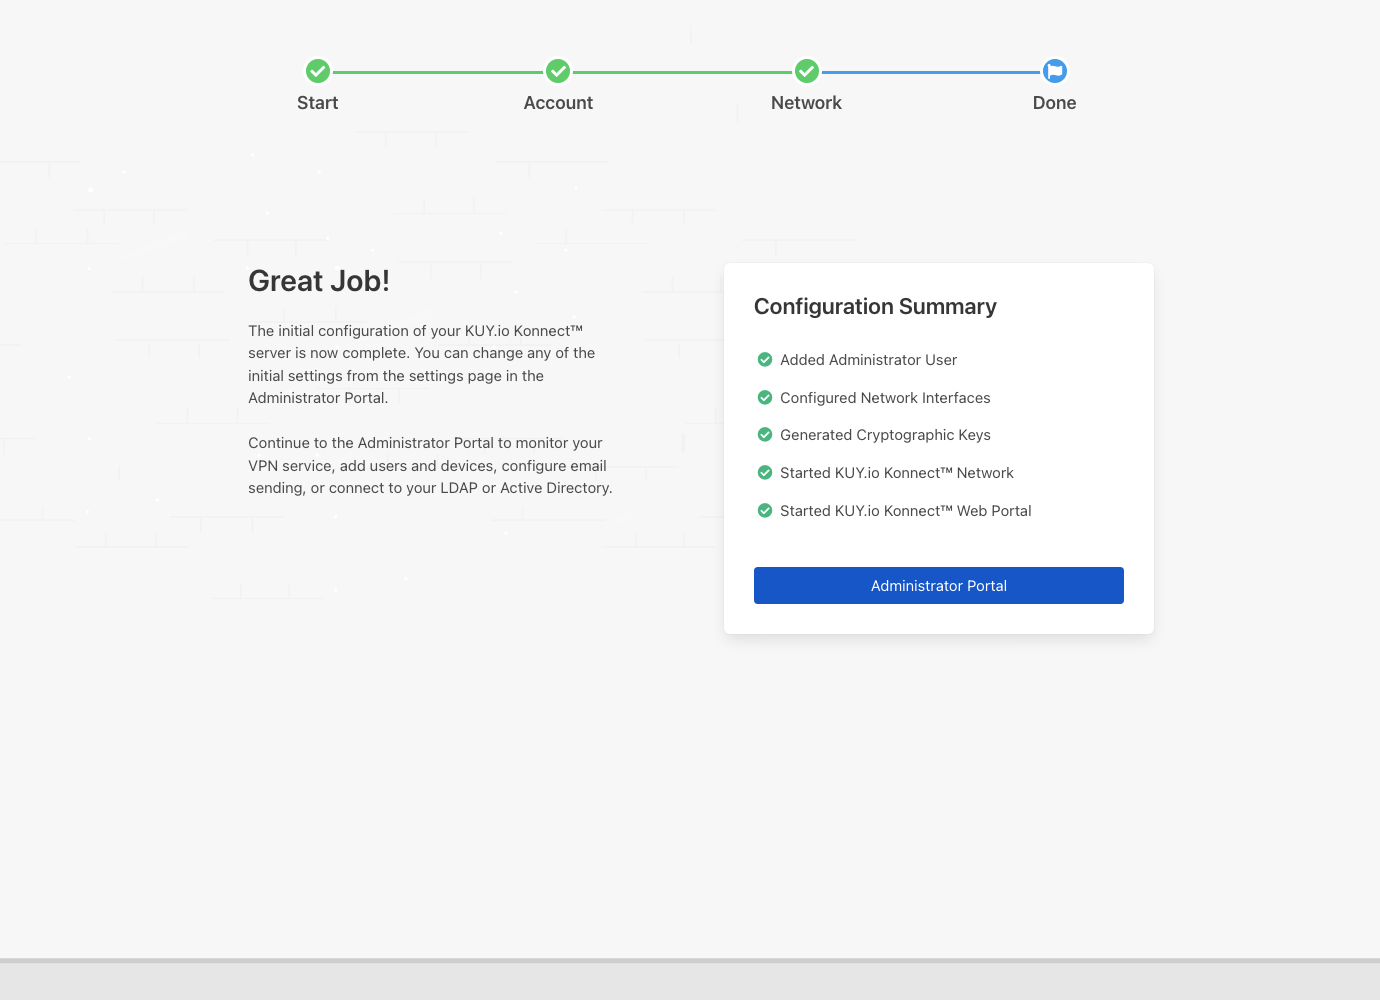
Konnect™ server will now apply the configuration settings, generate all cryptographic keys, and start the VPN service. When the deployment health checks pass green, your Konnect™ server will boot the administrator and the user portal services.

Congratulations! You have successfully completed the first-time setup and your Konnect™ access server is now ready for use. Click on Administrator Portal to close the first-time setup wizard and continue to the Administrator Portal.